
How I Directed Two AI Product Films Without a Camera
A practical AI product video workflow for locking scenes, controlling motion, maintaining character consistency, and directing Seedance through Higgsfield.
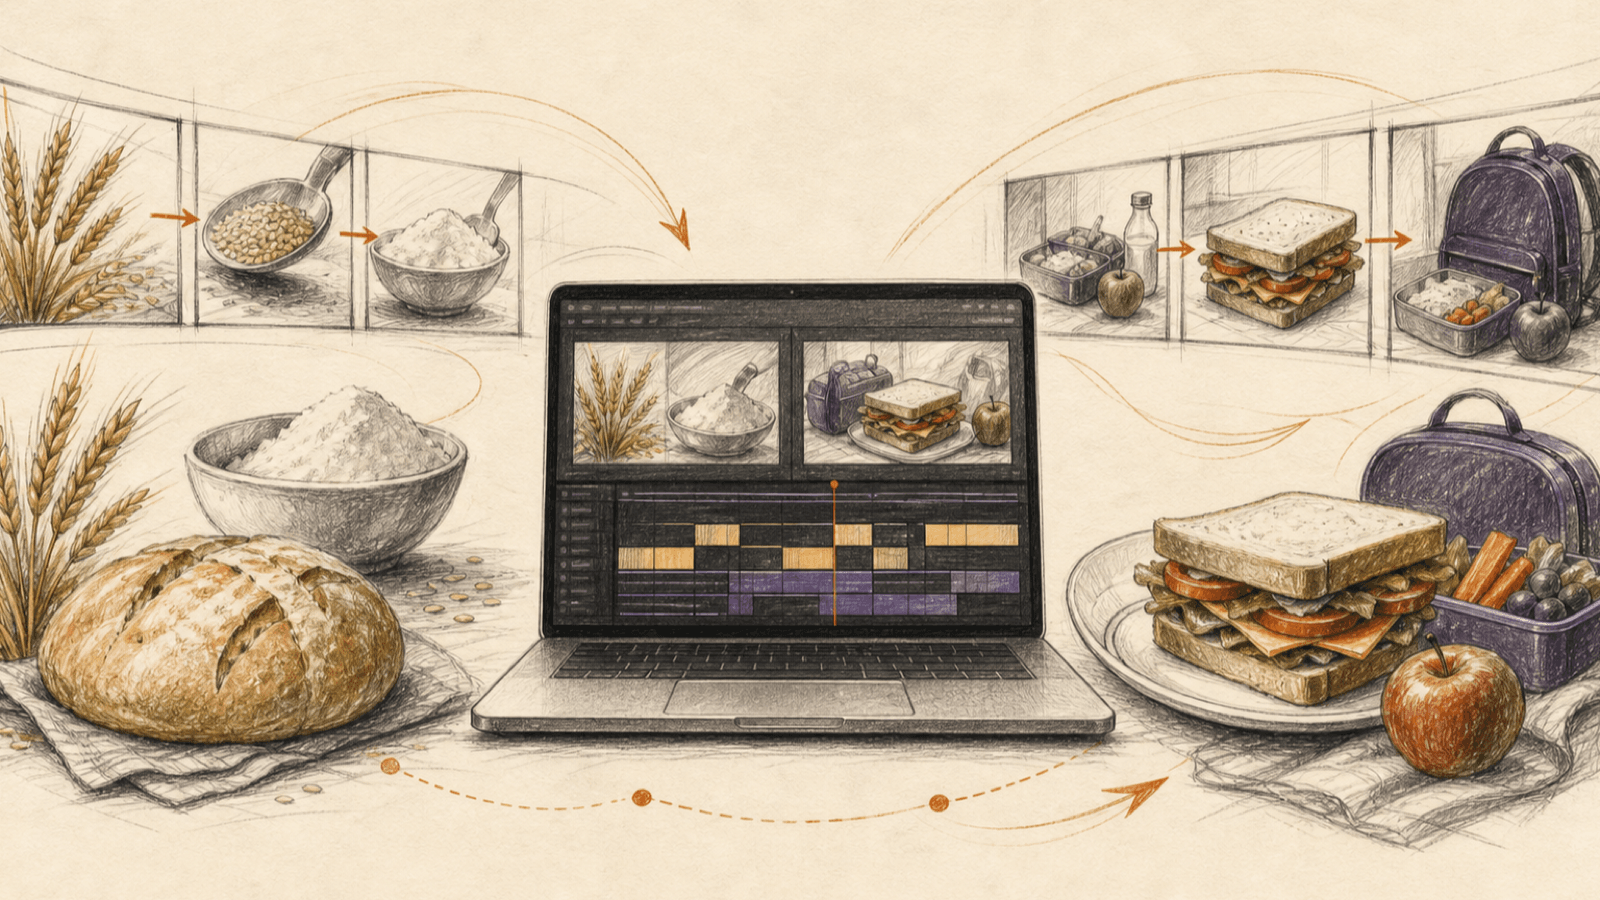
I made two full product films for a bread brand without a set, a crew, or a single real frame of footage. One was a 15-second "field to finished loaf" transformation reel. The other was a three-scene ad with a schoolboy sneaking a bite in class and his mum building the sandwich in the kitchen.
Both were generated on Seedance 2.0 through Higgsfield. Neither worked on the first try. Or the fifth.
But by the end I had a repeatable AI product video workflow that survived across two very different projects. This is what actually worked, and what I stopped wasting time on.
If you're trying to make AI product video that doesn't look like AI slop, this is the part nobody puts in the tutorial.
The One Trick That Changed Everything: Lock the Background to an Image
Here's the problem with text-to-video models. They redecorate the room every second.
You describe a kitchen. Second one looks great. Second three, the countertop has changed colour, a bowl moved, the light went warm. The model isn't holding a scene. It's re-imagining a scene 24 times a second.
The fix that broke this open for me: treat your opening frame as a fixed background image, and say so, loudly, in the prompt.
Not "the scene is a kitchen." Instead:
@Image1 is the EXACT opening frame AND the EXACT fixed background image AND the EXACT colour reference for the entire 10 seconds. Only the woman's hands and the sandwich animate. Everything else stays bit-for-bit identical to @Image1.
Then I list the frozen elements one by one. The bread pack on the left. The blue notebook lower-right. The window on the right. The classmates who never look up.
The moment I started calling the reference a "fixed background image" and naming what stays still, background drift basically stopped. This was the single biggest quality jump across both films.
Lesson: don't describe the world. Freeze a frame and tell the model only the hands move.
Scale Your Prompt to the Failure Surface
My early prompts were either too short (model improvises, everything drifts) or bloated with detail on things that were never going to break.
The rule I landed on: the length of your prompt should match how many ways the shot can fail.
- A boy taking a bite at a locked-off desk? Short-to-medium prompt. Few moving parts.
- Wheat grains shattering into flour, flowing left, transitioning a golden field into royal purple, spinning into a vortex, revealing a pack? That's a physics minefield. Long-form, beat-by-beat, with explicit locks.
The Sharbati reel's Block 1 prompt is nearly a full page for five seconds of video. The classroom bite is a third of that for seven seconds. Both were the right length, because they matched how much could go wrong.
Don't pad. Spend your words where the model breaks.
Work With the Model's Instincts, Not Against Them
This one cost me the most time before it clicked.
In the kitchen scene, mum scatters cucumber rounds and paneer cubes onto the sandwich. I wanted clean, deliberate, one-piece-at-a-time placement. So I wrote prompts telling the model to place each cube individually.
It refused. Every time it grouped the pieces, dropped them as a clump, fought me.
Then I understood why. Seedance is trained on real cooking footage. In real footage, nobody places one cucumber round at a time. They tilt a cupped hand and the pieces tumble out.
So I stopped fighting and wrote the cupped-hand version:
Her hand is cupped/curled in a soft natural cup shape holding loose pieces in her open palm. She tilts her palm and the pieces TUMBLE / SPREAD / SCATTER onto the layer below at varied positions and angles.
It worked instantly. Because I was finally asking for the thing the model already knew how to do.
Lesson: when the model keeps "getting it wrong," ask whether it's actually doing what real footage would do. Then rewrite your ask to match.
Reference Images Are Scene Anchors, Not Free Extras
Seedance lets you feed up to nine images with @Image1–@Image9 syntax. My instinct was to give it more. More references, more control, right?
Wrong. The model treats each @Image as a separate scene to cut to. Feed it eight images and it makes eight little clips stitched together, killing all continuity.
On the Sharbati reel I got my best result when I cut down to three or four images max. Fewer anchors gave the model more room to animate between them smoothly instead of hard-cutting.
The other trap: giving the model an image it interprets literally in the wrong way. The end-frame image showed a crown shadow behind the pack, and the model kept applying that crown from second one, even though it should only appear in the final second. I had to explicitly label it "applies to the LAST SECOND ONLY."
Lesson: every reference image is a magnet. Use the fewest you can, and tell the model exactly when each one applies.
Lock Colour to the Image, Never to a Number
I used to write "colour temperature: warm 4500K" thinking I was being precise.
It fought the actual tone of my reference image. The model would try to satisfy both and the grade would drift.
The fix: stop prescribing numbers. Lock to the image.
Match @Image1 EXACTLY for white balance, exposure, contrast, and saturation. Greens stay green. Reds true red, NOT pushed orange. Whites stay neutral cream-white, NOT tinted gold. Do NOT progressively warm the image.
That "do not progressively warm" line matters. These models love to drift everything toward a golden-hour wash over time. You have to explicitly forbid it.
Keep One Character Consistent Across Shots
The sandwich ad has the same boy in multiple shots. Face drift would kill it.
What worked: a multi-angle character reference sheet (the same boy from seven angles) fed as a single reference, with a very specific instruction:
@Image3 shows the SAME boy from seven different angles. This is a character identity reference, NOT a scene reference. Use it ONLY to lock the boy's face, hair, skin tone, eyes. DO NOT render multiple boys. DO NOT recreate the panel layout in the video.
Without that "SAME boy, not multiple boys" line, the model will happily read a reference sheet as "put all these people in the shot." You have to spell out that it's one identity from many angles.
The Physics You Have to Fight for, Word by Word
Some things the model will not do until you over-specify them. From the reel:
- Grains turning into flour. The model kept hard-cutting between the two states. Fixed by bridging it physically: "a strong gust of wind enters and physically strikes the grains," so there's a cause, not a magic cut.
- Direction. The flour needed to move left. The model defaulted right every time. I wrote "LEFT" three separate times and described the camera panning left to reinforce it.
- What the flour is not. It kept generating dough, or magical sparkles. Fixed with a negative definition: "NOT dough, NOT liquid, NOT paste. Behaves like fine chalk dust or dry smoke."
Lesson: for tricky physics, give the model a real-world cause, repeat the direction, and define what it is not.
Hands Must Fully Exit Before Anything Springs
Small, brutal lesson from the kitchen bounce shot.
The sandwich was supposed to press down, then spring back up on its own to show how soft the bread is. But the model kept bouncing the hands sympathetically with the bread, like the whole frame was on a trampoline.
Fix: force the hands completely out of frame before the bounce, in the prompt and in the timing.
[9.0–9.3s] Hands lift STRAIGHT UPWARD and EXIT the frame completely. After 9.3s there are NO hands visible. [9.3–9.9s] With ZERO hands in frame, the sandwich bounces back on its own.
And I had to kill the sound too, or it invented a clap: "NO clap, NO slap, NO hand-pop. Only the soft bread recoil."
Lesson: if two things shouldn't move together, physically separate them in time and space in the prompt.
Isolate and Test Before You Combine
I never generated the full 15-second reel while I was still fixing problems. Too slow, too expensive, too hard to see what broke.
I isolated Block 1 and generated it alone at seven seconds until the grain-to-flour-to-vortex-to-pack sequence was actually cinematic. Only then did I combine blocks.
Same logic on the ad. Each scene is a separate clip. The bite, the reaction, the kitchen build, the hero shot, all generated and perfected independently, then edited together in post.
Lesson: perfect one clip at a time. Combine last.
Handle Audio in the Edit, Not in the Model
Native audio generation is genuinely good for a simple synced sound: a bite, a whoosh, a thud. It is unreliable for a full arc.
So I keep the model's audio tied strictly to on-screen action and add music and voiceover in post. No exceptions.
One clever bit that saved a re-roll: audio handoff between clips. In the ad, the boy's "mmm" happens at the end of one clip. The reaction shot (teacher and kids turning) is the next clip, and it stays silent, because the trigger sound already played. You edit the two together and it reads as cause and effect. No need to make one giant clip.
Tool Choice: I Stayed on Seedance
I tested Veo 3 for the ad. It was noticeably worse for this kind of scene: worse motion physics, worse reference handling. I went back to Seedance and stayed.
Two syntax notes if you're switching between them:
- Seedance uses
@Image1–@Image9references. - Veo uses slot positions (start frame, end frame, reference), no
@Imagesyntax.
Also run Seedance in Pro/Quality mode, not Fast. Fast mode quietly undoes half the things you fought to fix.
The Workflow That Actually Held Up
Strip away the specifics and here's the repeatable loop:
- Build a clean start frame for each shot (this is your locked plate).
- Feed three or four references max, and say what each one is for.
- Freeze the background to the start image and animate only what moves.
- Lock colour to the image, forbid drift, no Kelvin numbers.
- Scale prompt length to the failure surface of the shot.
- Work with the model's training prior, not against it.
- Isolate, test, perfect one clip, then combine.
- Keep native audio simple, do music and voiceover in the edit.
Two films, two completely different concepts, one process.
The models are getting better fast, but the real skill isn't picking the fanciest tool. It's learning how to direct a system that wants to improvise, and knowing exactly which battles to fight in the prompt.
That part transfers to whatever model comes next.
Senior PM and UX Expert with 9 years of experience shipping products across fintech, ed-tech, ecommerce, and government sectors. Leads UX and development at YAMU Media and runs MediaMen Services.
Get in touch →